Ever wished you could capture that spontaneous jam session, record a heartfelt song, or even just improve the sound quality of your podcast or voiceovers at home? The good news is, you don’t need a professional studio to get great audio recordings. With a few key pieces of equipment and some basic knowledge, you can transform your home into a capable recording space. This article will guide you through the essential steps to achieve clear, crisp audio recordings, addressing the common question: “How can I record high-quality audio at home for music, podcasts, or voiceovers without breaking the bank?”
Choosing Your Essential Gear: The Microphone is Key
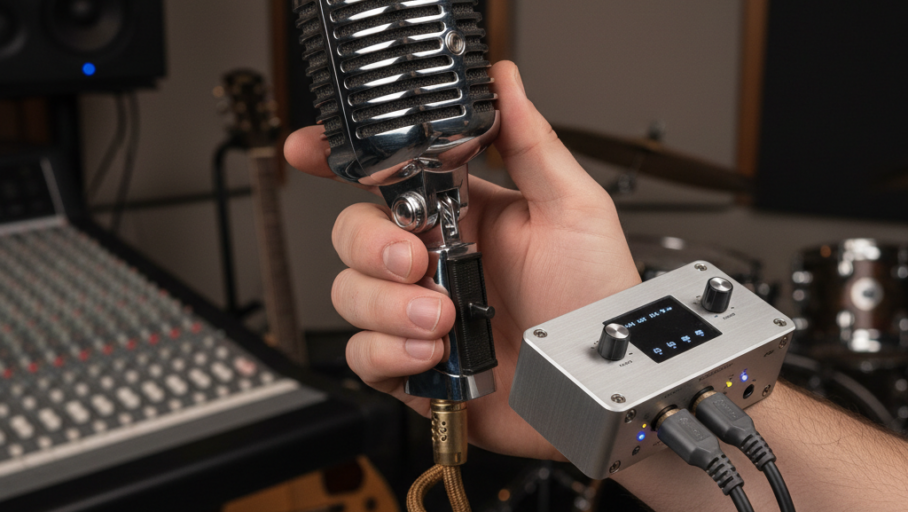
The microphone is the most crucial component in your home recording setup. It’s the “ear” that listens to your sound. For beginners, two main types are ideal: USB microphones and XLR microphones.
USB microphones are the simplest to use. They plug directly into your computer’s USB port and often come with built-in preamps and converters, meaning fewer extra boxes. They are fantastic for spoken word, podcasts, and basic vocal or instrument recording. Think of the Blue Yeti or Rode NT-USB Mini as popular, user-friendly options. The main advantage here is ease of use and affordability, making them perfect for starting out.
XLR microphones, on the other hand, offer more flexibility and often better sound quality as you advance. They connect to an “audio interface” – a box that converts the microphone’s analog signal into a digital one your computer can understand. This interface usually has preamps to boost the signal and inputs for other instruments. Popular XLR microphones for home use include the Shure SM58 (great for vocals) or the Audio-Technica AT2020 (a versatile condenser mic). While requiring an extra piece of gear, XLR setups offer more control over your sound and are generally upgradeable.
Setting Up for Success: Environment and Placement
Once you have your microphone, where you record is almost as important as what you record with. A common mistake is recording in a large, empty room with hard surfaces (like tile floors or bare walls). This creates echoes and reverberation, making your recordings sound distant and unprofessional.
Aim for a smaller room with soft furnishings. Closets, bedrooms with carpet, curtains, and bookshelves are excellent choices. These soft materials absorb sound, reducing unwanted reflections. To further improve your sound, try hanging blankets or duvets on walls behind and to the sides of your recording position. This “acoustic treatment” doesn’t have to be fancy or expensive to be effective.
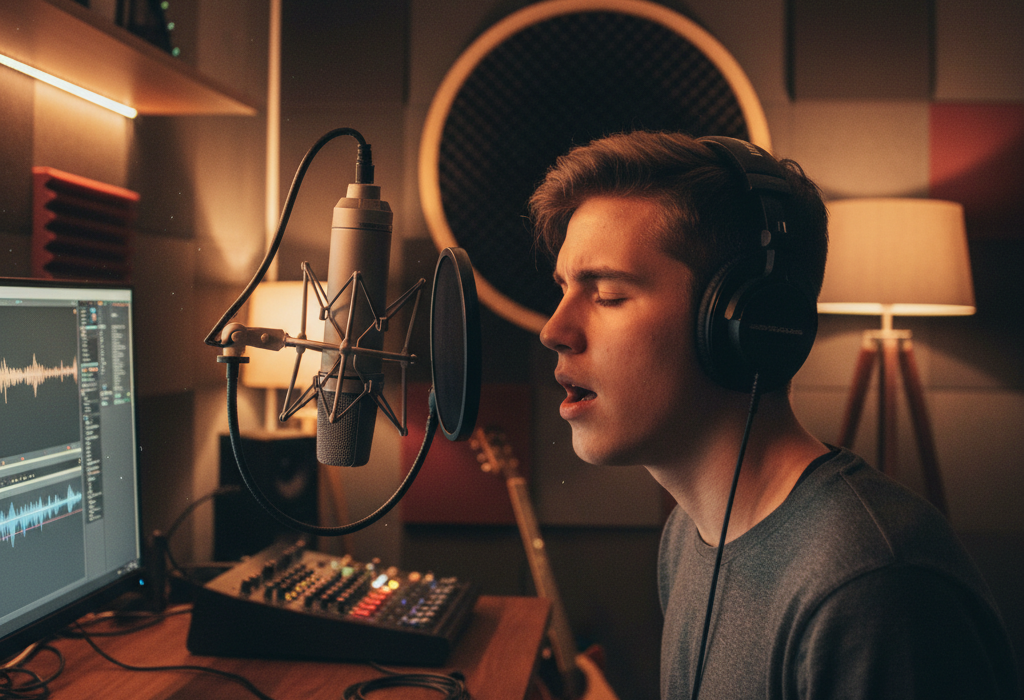
Microphone placement is also critical. For vocals or spoken word, place the microphone about 6-12 inches from your mouth. Experiment with different distances to find what sounds best for your voice and microphone. Point the microphone directly at the sound source. When recording acoustic instruments, try placing the mic a bit further away (1-2 feet) and experimenting with angles to capture the full sound of the instrument. Remember, even subtle changes in placement can dramatically affect the recorded sound.
Recording and Refining: Software and Practical Tips
With your gear ready and space optimized, it’s time to record! You’ll need Digital Audio Workstation (DAW) software to capture and edit your audio. For beginners, free options like Audacity (for Mac/PC) or GarageBand (for Mac) are excellent starting points. They allow you to record, trim, and apply basic effects like noise reduction.
When recording, always aim for a healthy signal level. Most DAWs have a “meter” that shows the volume of your incoming audio. You want the signal to be strong enough to be heard clearly but not so loud that it “clips” or distorts (often indicated by red lights on the meter). Aim for the meter to peak around -6 to -3 dB. A recording that is too quiet will introduce noticeable hiss when you try to boost it later, while a clipped recording can’t be fixed.
Finally, practice makes perfect. Experiment with microphone positions, room treatments, and your recording levels. Listen back critically to your recordings. Do you hear unwanted background noise? Is the sound clear and balanced? Learning to identify these issues will help you fine-tune your setup and technique. Remember to save your projects frequently and backup your important recordings.